


http://avetreels.com/pdf/ProEX50-2spd.pdf
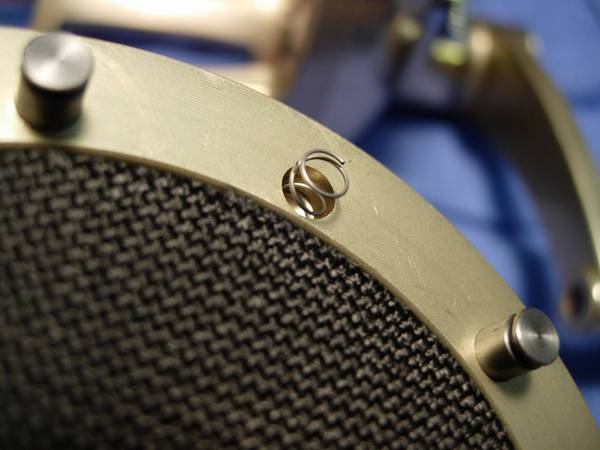
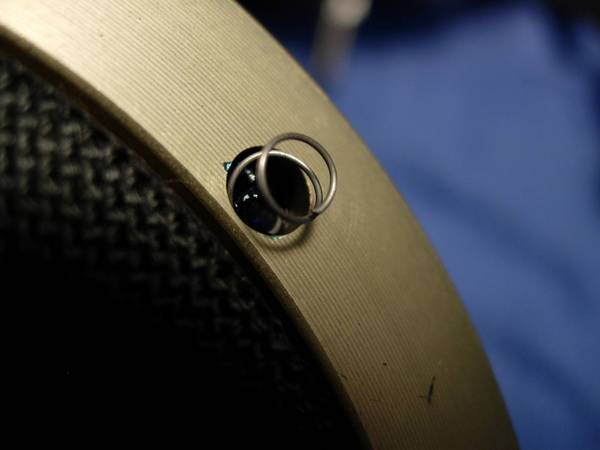
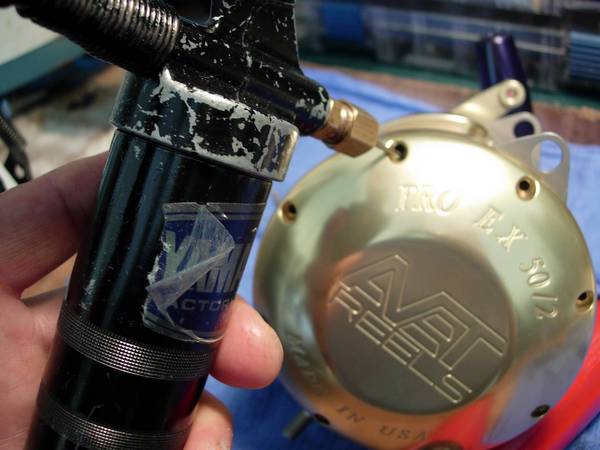
here is the reel, brand new, spooled with line for the first time.
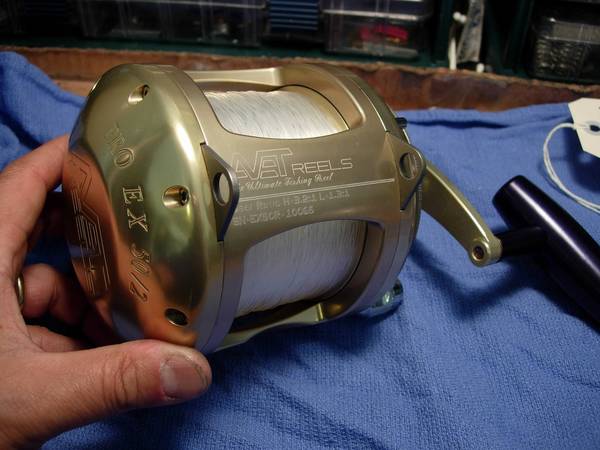
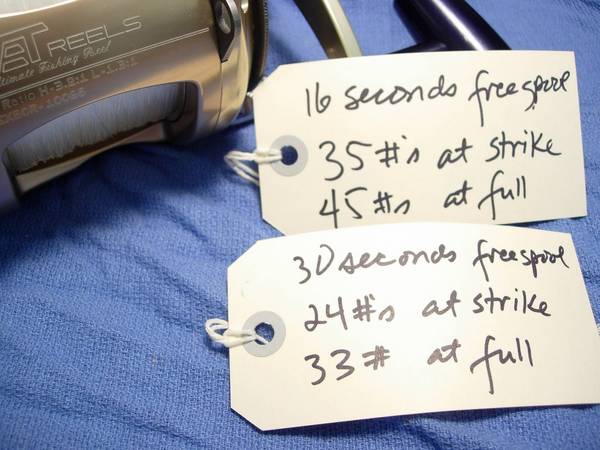
i don't know what the specs are supposed to be for this reel, but with a full spool of line, i decided to check it out myself. i pushed the drag lever back to the "free" position and dialed down preset knob until the drag washers just barely contacted the disc brake. free spool was obviously decreased. then i back off on the preset knob until the spool started spinning freely again. at that point i pushed the lever to strike and got 35#'s of drag, then to full and got 45#'s, then back to free and got 16 seconds of freespool time. then i back off the drag to 24#'s at strike, pushed the lever forward and got 33#'s at full, then back to free where is got 30 seconds of freespool.
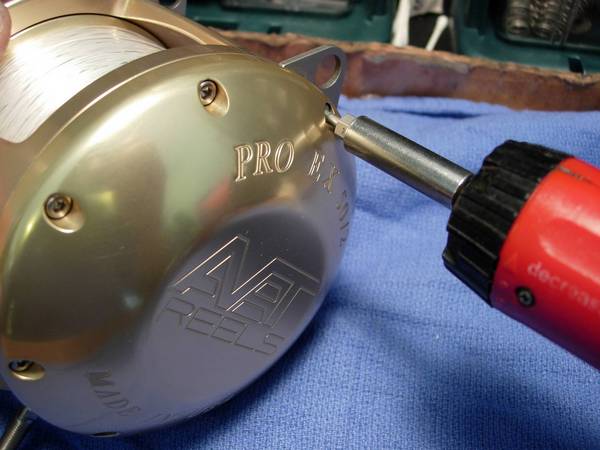
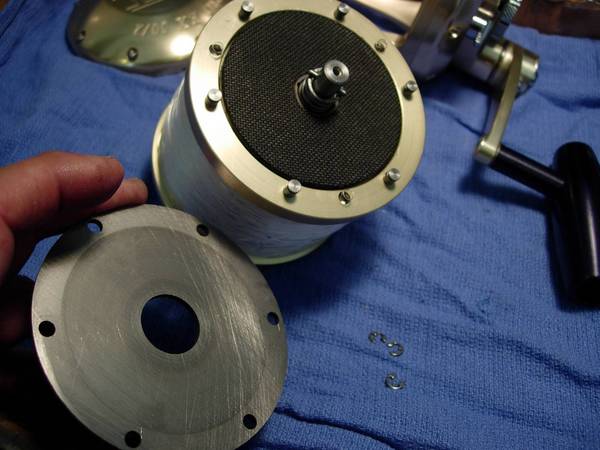
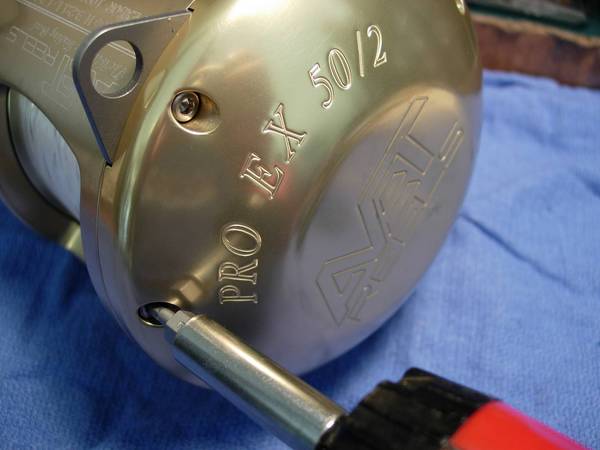
first out came the end housing screws (key #1) for the left end cap housing.
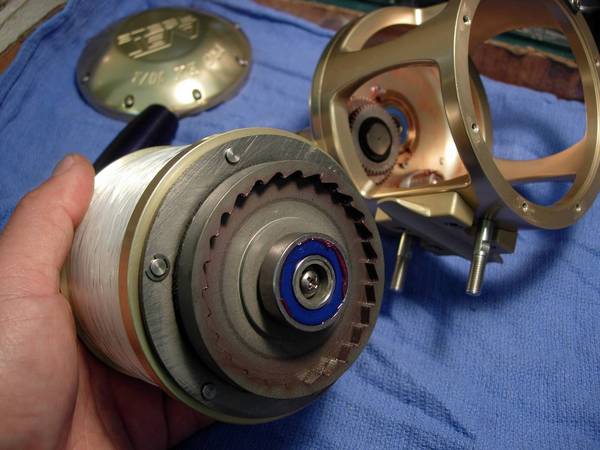
off comes the left end cap housing. note that the end cap bearing (key #5) stayed with the left brake (key #18). normally, it is stuck in the end cap housing.
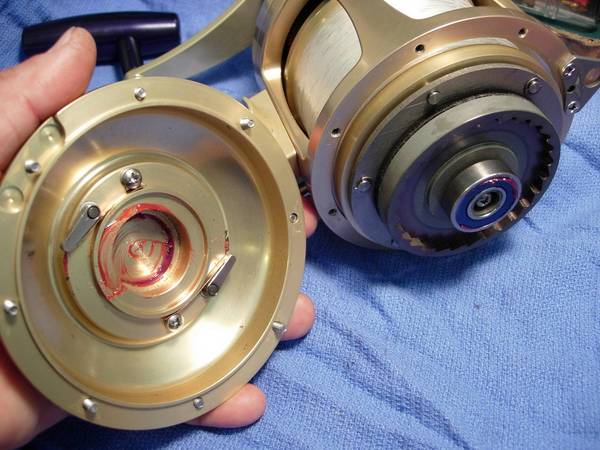
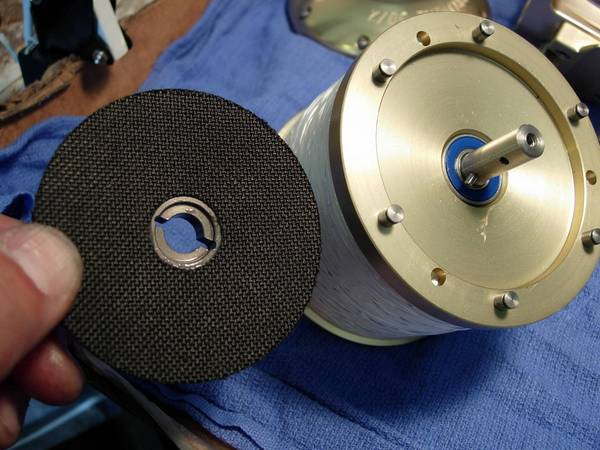
remove the spool assembly and set it aside.
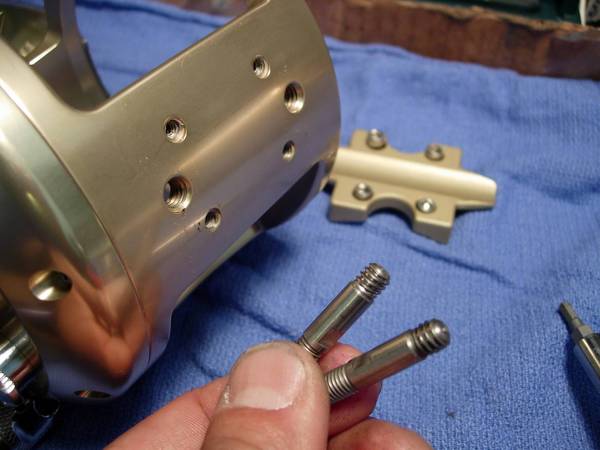
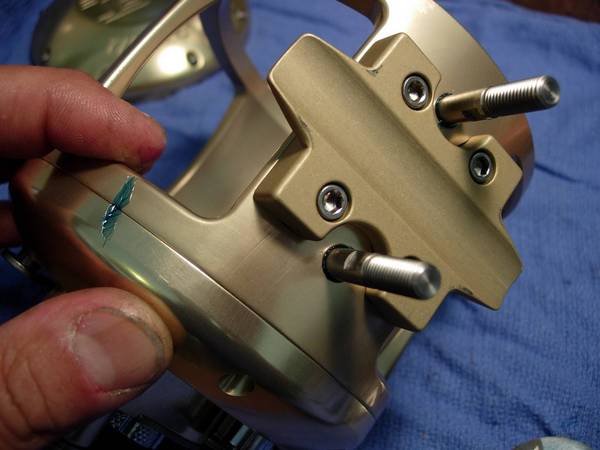
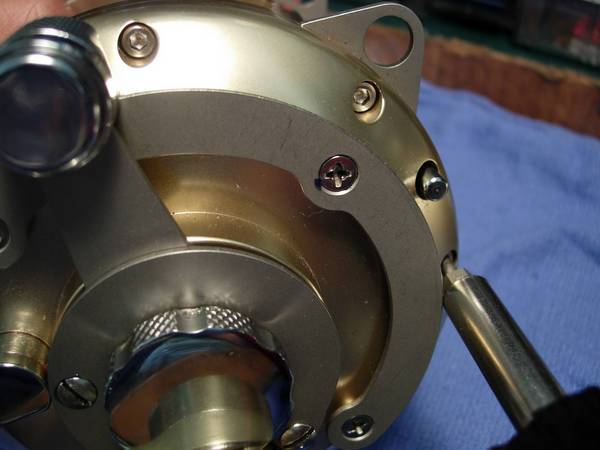
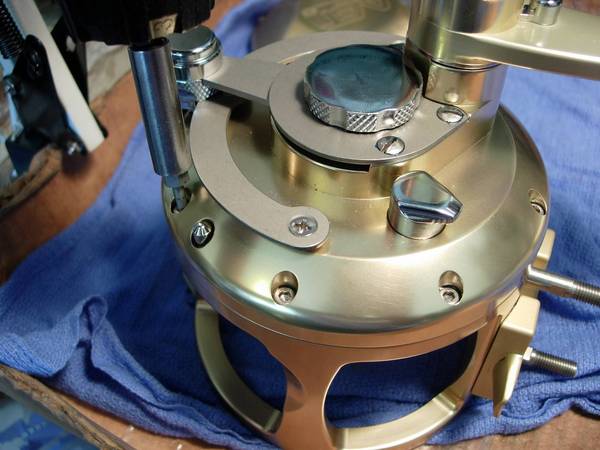
i checked the tightness of the mount screws (key #108). they were tight enough, but not as tight as i would have liked.
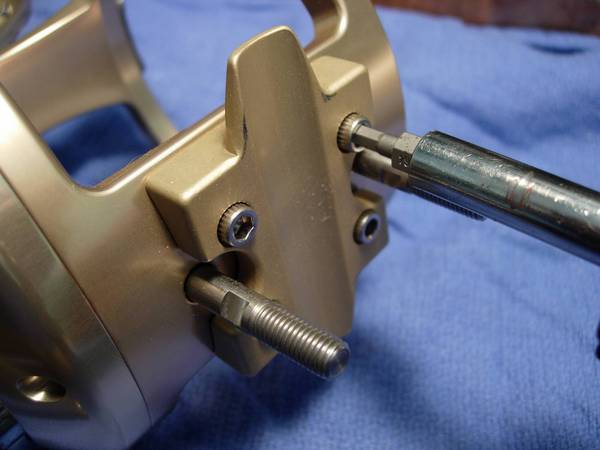
the rod mount bolts (key #109) were very loose, but i'm sure these were installed by the owner.
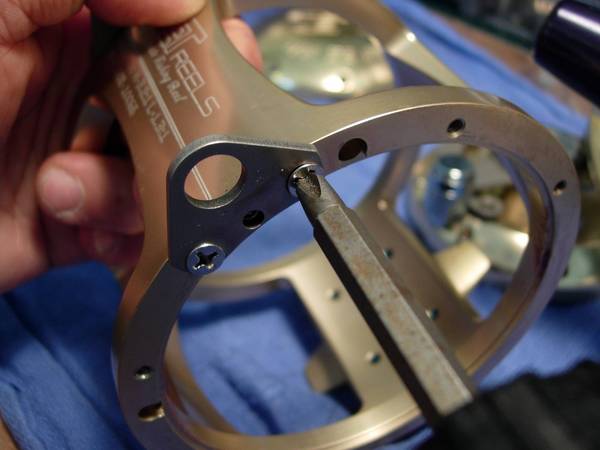
i greased the bolts and re-installed them. to do so, i had to grind down the blade of a cresent wrench to fit.
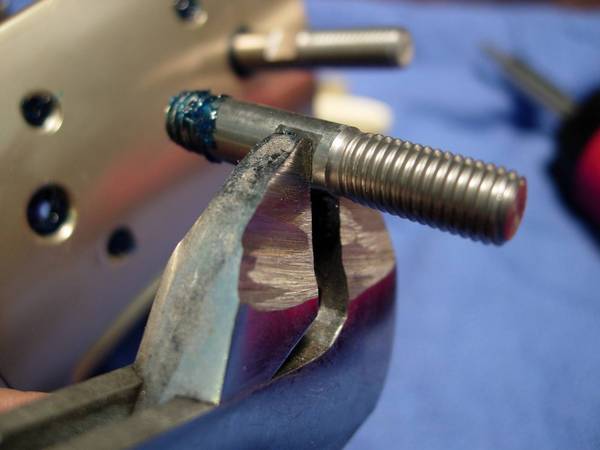
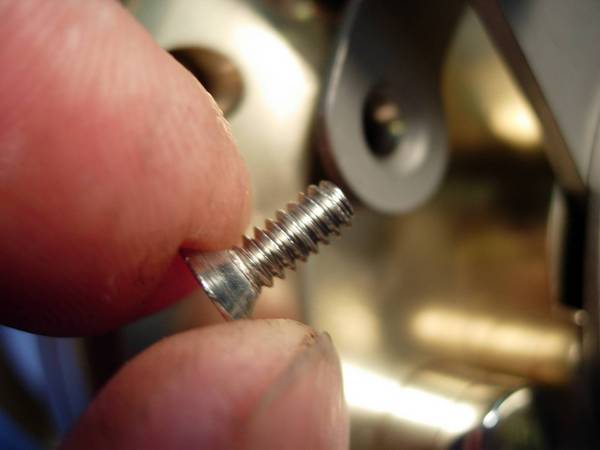
here are the screws. note the lack of grease or loctite.

i know that some of you are concerned about the rod mount (key #107) coming off during a fight. i've decided to continue to grease these screws and torqe them down. whatever you do, just make sure they are tight enough that the screws don't back out on you.
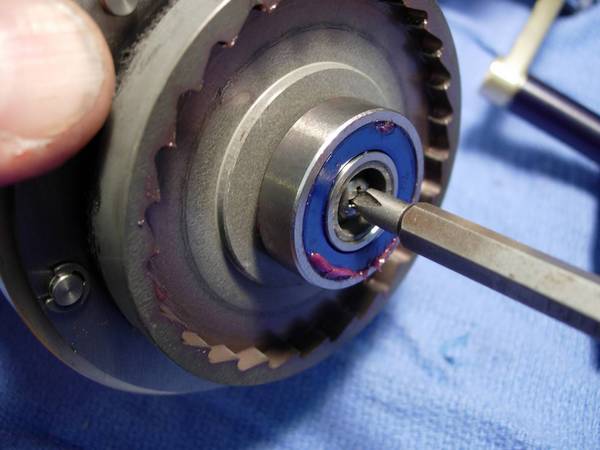
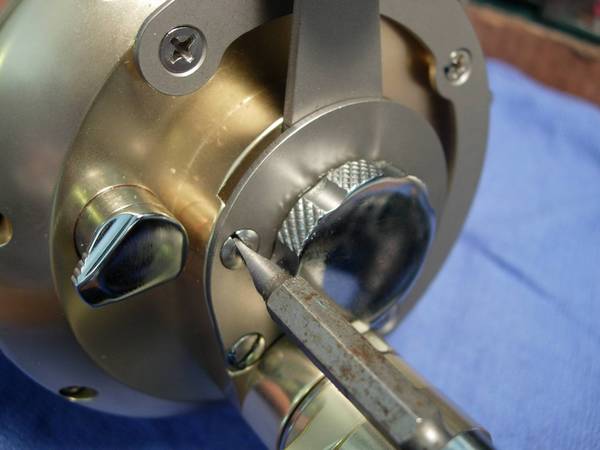
now, on to the spool. back out the left brake screw (key #16). remove and set aside the left brake screw, the L/B lock washer (key # 17), the L/B washer (key #17A), and the left brake (key #18).
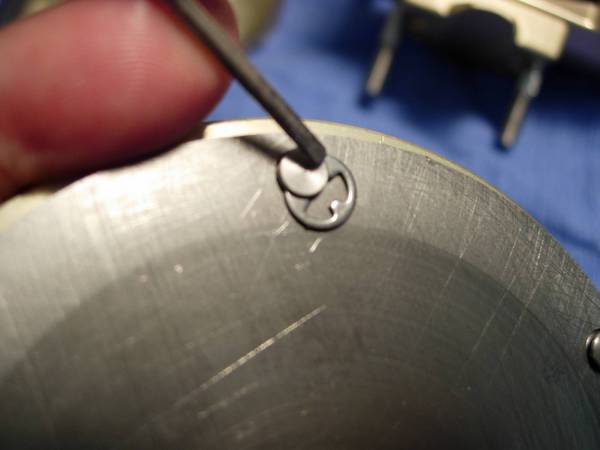
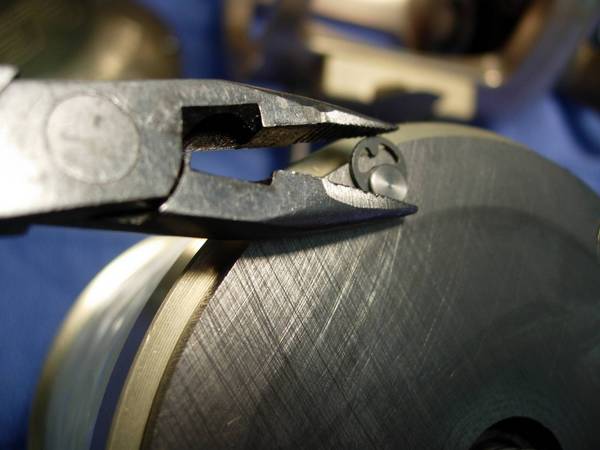
remove the brake disc pin e-clip (key #19). careful here. these are under pressure. the first one i popped out went flying across the room. luckily i found it. you may not be so fortunate. call avet ahead of time and order up a couple of these, and some brake pin springs (key #21) while you're at it.
remove the disc brake (key #20) and set aside.
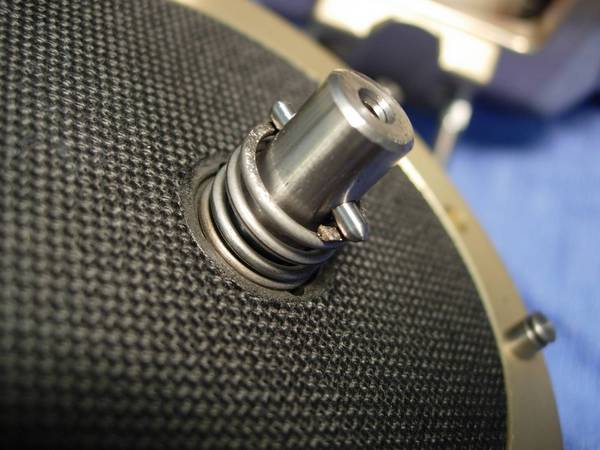
here are the brake pin springs (key #21) that i was mentioning. remove them and set them aside in a safe place.
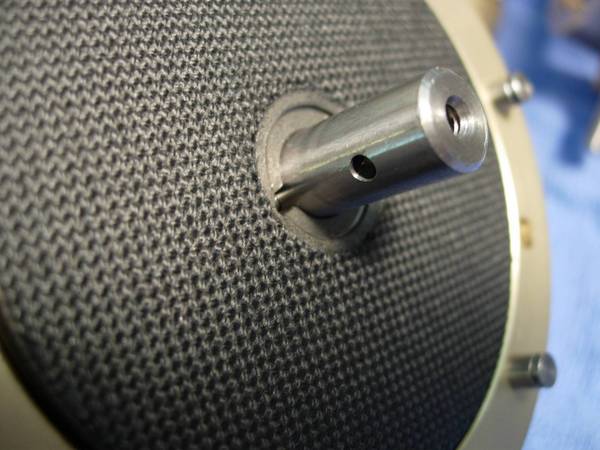
remove the shaft end pin (key #23) by depressing the brake retracting spring (key #23).
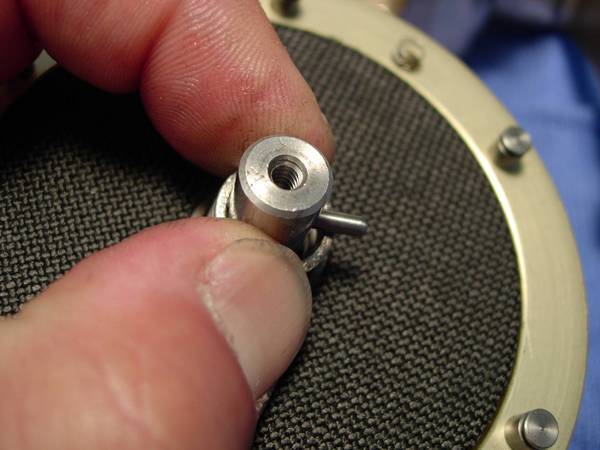
remove the right brake (key #24) and set it aside.
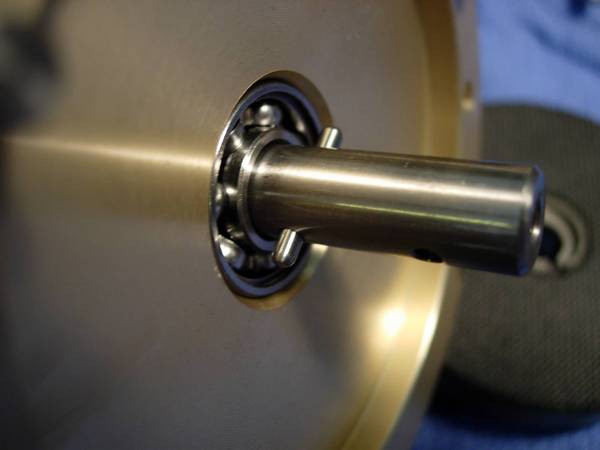
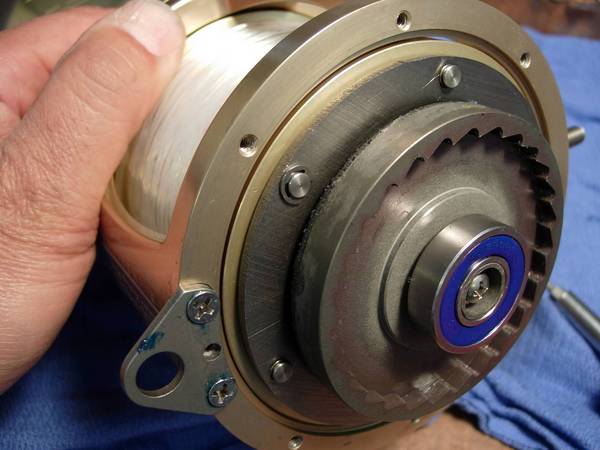
remove the second shaft end pin (key #22) and remove the spool shaft assembly. this shows you what it looks like all together.
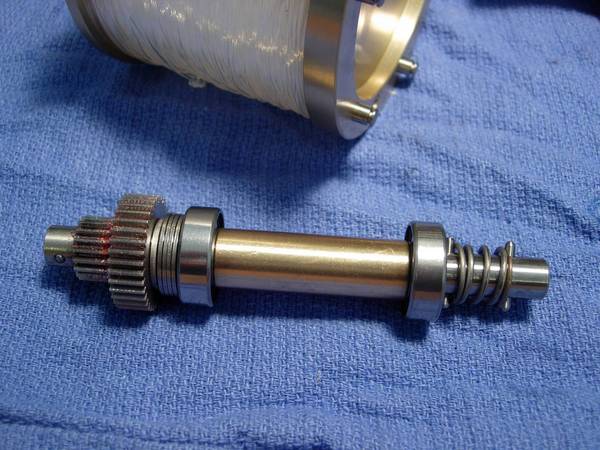
this is apart. the two spool bearings (key #25) are identical, one with the seal up, one with the seal down.

a small swiss army knife is all it takes to remove these seals. they pop out very easily. the bearings were cleaned with carb cleaner and compressed air, they were lubed with corrosion x.

first we will grease the drag washer.
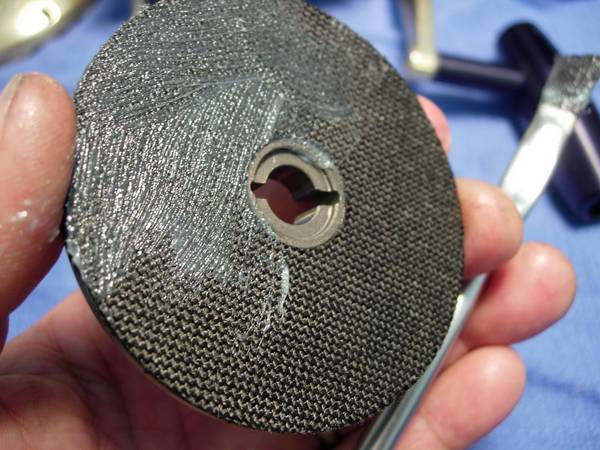
make sure you get the edges. salt water might get in and make the aluminum bubble up.
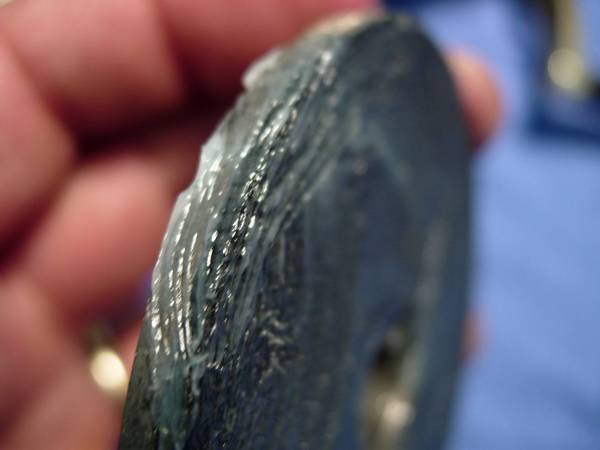
now wipe off all the excess.
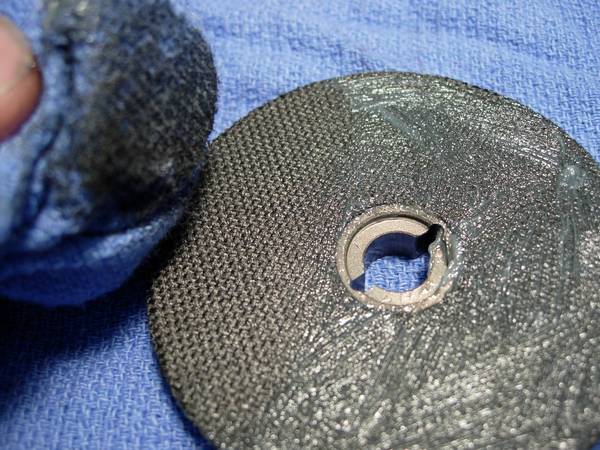
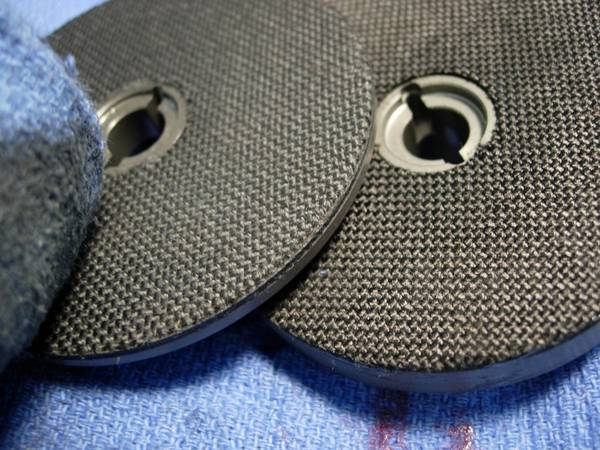
compare the greased drag on the left to the dry drag on the right. they basically look the same. grease the left brake (key #18) in the same manner.
install the spool shaft assembly, including first shaft end pin (key #22).
install the right brake (key #24).
install the brake retracting pin (key #23) and the second shaft end pin (key #22).
install the brake pin springs (key #21). put a dab of grease in the hole first.
install the disc brake (key #20).

install the brake disc pin e-clips (key #19) and take care not to launch them across the room.
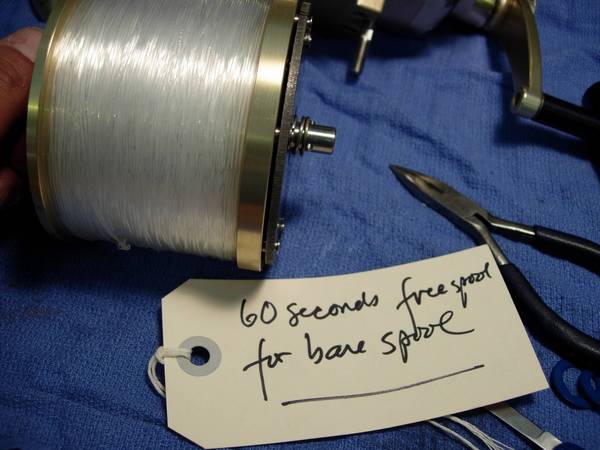
a quick test of the spool alone gave me 60 seconds of freespool.
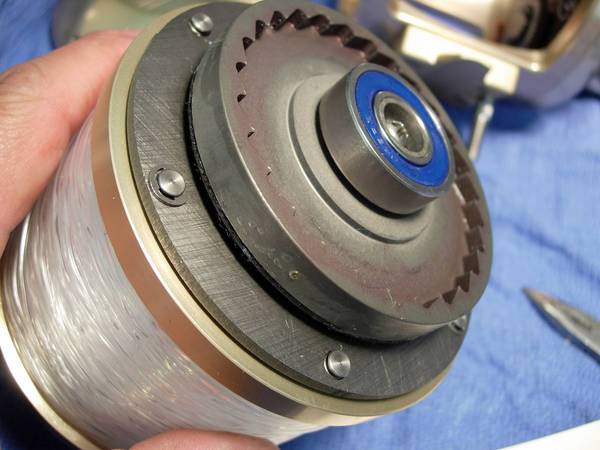
install the left brake (key #18) and screw it in (key #16, 17, and 17a). note the end cap bearing (key #5) still stuck on the left brake. set the spool assembly aside.
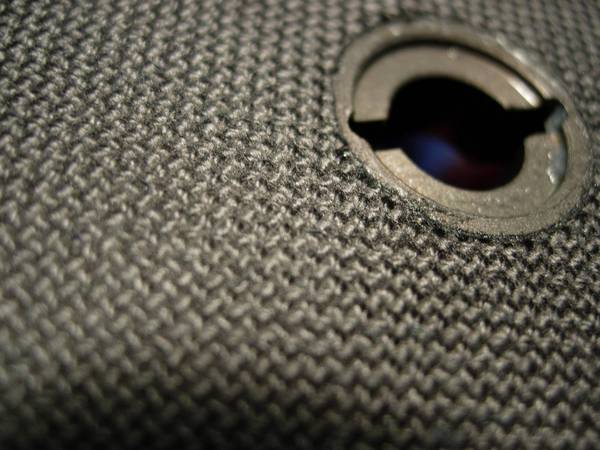
now for the right side plate. remove the end housing screws (key #1) and remove the right end housing assembly (key #39).
let's grease all the screws in the right end housing (key #42, 54 and 82). back out each screw, one at a time, grease the screw hole, and re-install the screw before backing out the next one.
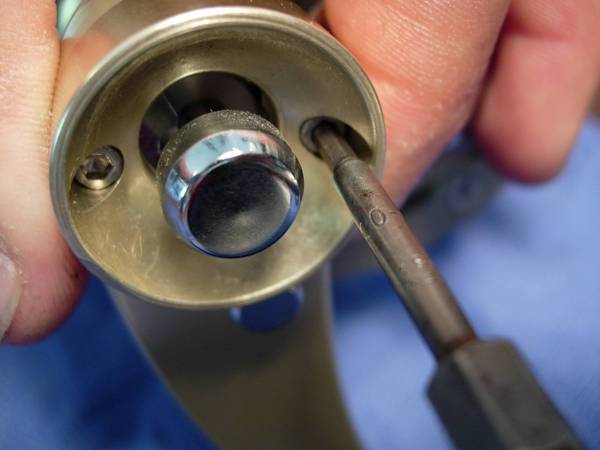
note that some of these screws have been installed from the factory without grease.
find the harness lugs (key #8), back out the screws (key #9) one at a time and grease the screw holes.
install the right end housing assembly and grease each screw hole.

install the spool assembly. first, back off the preset knob (key #55) and push the drag lever back to the "free" position.
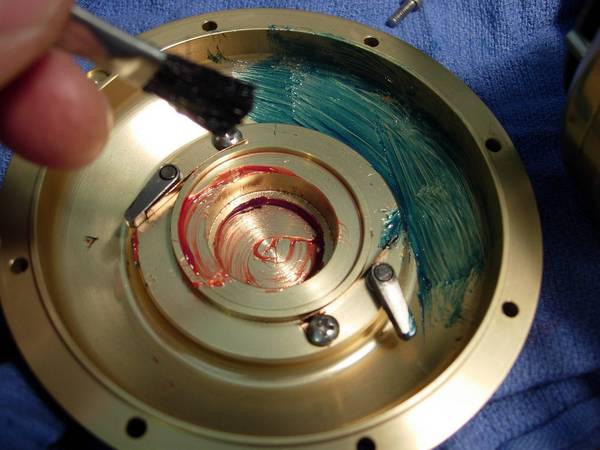
paint some grease on the inside of the left end cap housing (key #2).
install the left end cap housing, greasing the screw holes first.
done! now, a couple of comments.....
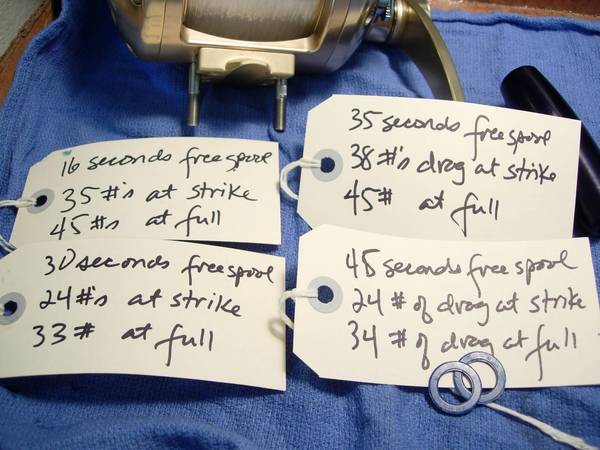
let's talk about the specs. the stock reel, no modifications, straight out of the box, had a maximum drag setting of 35 pounds at strike and 45 pounds at full before losing freespool. it also had 16 seconds of freespool at this drag setting. when the strike drag was backed off to 24 pounds, the corresponding full drag was 33 pounds, and the freespool time increased to 30 seconds. why the difference? i think the spool tube (key #27) might not have been cut to the proper length.
the basic modifications performed on this reel included greasing all the screw holes, greasing the drag washers, and removing the seals, cleaning out and relubing the bearings. the "(())" configuration of the belleville pressure washers (key #29) was not changed. [note that your only option to increase the drag range would be a change to "((((".] with these modifications, the reel now has a maximum drag of 38 pounds at strike and 45 pounds at full before losing freespool. the freespool time was increased to 35 seconds. when the strike drag was backed off to a working load of 24 pounds, the corresponding full strike was 34 pounds, and the freespool time was increased to 45 seconds. clearly in this one reel, grease on the drag washer did not affect the "top of the spool" drag performance. those of you with concerns regarding this issue should take note.
what's my impression? it's a beautiful reel! when i first opened up the box, the first thing i thought was "wow!!!!!!" the machine work is incredible. you can see it in the photos. i consider accurate to be the gold standard in fine machine work. i think this avet is every bit as good.
but bench testing a reel is one thing, performance on a live fire range is another. nothing you see here can predict with absolute certainty how your reel will perform with a fish on the line. even from an engineering point of view, the performance specs of a single reel do not predict, with absolute certainty, the performance of the group. still, the tolerances on this reel should be tight enough that one reel should give you a good idea of how well the others will perform. personally, i believe that if you go through the same modifications, you will obtain similar results. i would therefore recommend, with confidence, these modifications for any avet 50/2.
how would i evaluate the durability of a stock reel versus a modified one? i'd set a half dozen of each on the deck of a san diego long range boat, fish with them for a season and see how they hold up. there might also be a faster way. take a bucket of ocean water and drop the reel in for a hour. pull the reel out and set it out in the sun to bake for a week or two. then take it fishing and see how well it performs. what i describe is certainly no worse than leaving a reel out on the back deck of the Q105 or royal polaris for a couple of months. the results from either test might hold interesting results.